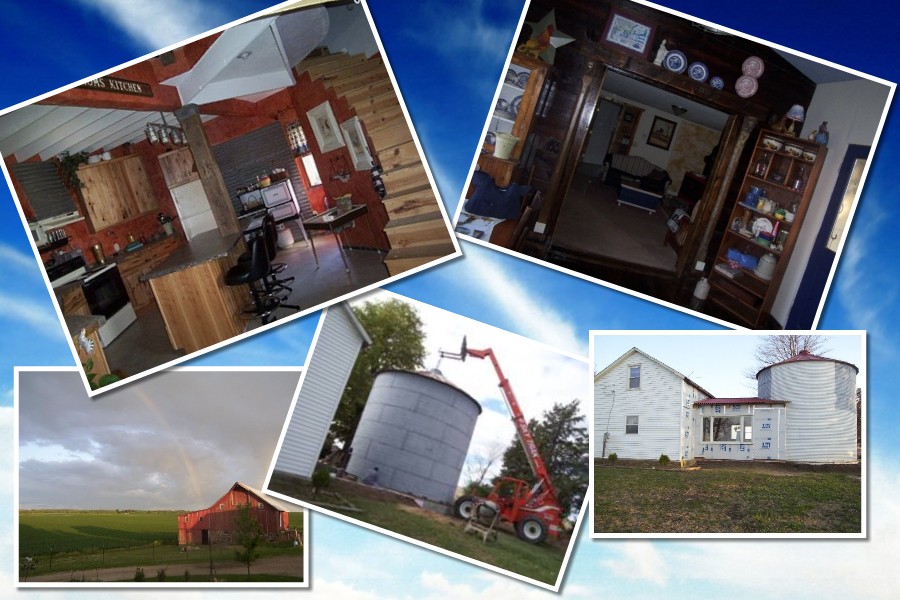

Just incase you thought I might be bored on our summer vacation. I wasn't. First we went to Europe and if that wasn't excitement enough for you we finished the outside of our plant room. Again, reclaiming and reusing is the theme at our house. The wooden logs were from my sister and her husband. They had a log cabin which had some extra logs stored in the basement. They arrived at my house almost 3 years ago. This summer we dug them out of the garage and used them as the first course on the foundation. Since I'm not very good at concrete forms, we used blocks as the foundation. I also followed Frank Lloyd Write's foundation techniques. Dug a trench, filled it with rock, and set my blocks on the rock. The foundation is 3 feet in the ground.
  Then a treated piece of lumber and the logs. On top of the logs went the studs and three windows. The two smaller windows were reclaimed from our own house. From when we put the grainbin on. The large window was given to me by a contractor in town. It was new and the wrong size for the house they were building. We wanted to use stone for the front but it was very costly so we opted for pretend brick. It was costly also but we really wanted it. So out the door our money went. We had never put on corrugated roofing but in a plant room you need more light than my windows provided. We made a frame for the roof to sit on and I painted it black hoping to attract heat. (you can see the roof framing in the french door picture) For the floor of the plant room we added 2 feet of gravel and a layer of sand. On top of that we put reclaimed brick from the Opera house in town that they tore down. I've used that brick all over my farm! We didn't want to close in the existing outside entrance to the basement so we covered it with used 2 by boards. I'll take pictures of the inside later. The gravel acts as a heat sink, drawing in the heat from the room and then releasing the stored heat in the dark of the night. We also put a horse tank in the floor. It will be used to hold water which will come off of the roof, into the water butt (pictures later) and when the water butt gets full, it will overflow to the horse tank via a clear tube. I'll use the water for heat storage and watering my plants. We put the wood furnace in the plant room and will burn wood to heat the house as well as the plant room.
  Because the plant room is on the south side of our house, there was a window in the living room which we changed to french doors. Of course the doors came from an auction. I didn't even buy them. Someone else bought them and stored them here. That person hasn't claimed them for 10 years, so I used them. Sorry Charlie! When we get the inside of the plant room finished I'll post some pictures of the inside.
Again, reclaiming and reusing is the theme at our house. The wooden logs were from my sister and her husband. They had a log cabin which had some extra logs stored in the basement. They arrived at my house almost 3 years ago. This summer we dug them out of the garage and used them as the first course on the foundation. Since I'm not very good at concrete forms, we used blocks as the foundation. I also followed Frank Lloyd Write's foundation techniques. Dug a trench, filled it with rock, and set my blocks on the rock. The foundation is 3 feet in the ground. Then a treated piece of lumber and the logs. On top of the logs went the studs and three windows. The two smaller windows were reclaimed from our own house. From when we put the grainbin on. The large window was given to me by a contractor in town. It was new and the wrong size for the house they were building. We wanted to use stone for the front but it was very costly so we opted for pretend brick. It was costly also but we really wanted it. So out the door our money went. We had never put on corrugated roofing but in a plant room you need more light than my windows provided. We made a frame for the roof to sit on and I painted it black hoping to attract heat. (you can see the roof framing in the french door picture) For the floor of the plant room we added 2 feet of gravel and a layer of sand. On top of that we put reclaimed brick from the Opera house in town that they tore down. I've used that brick all over my farm! We didn't want to close in the existing outside entrance to the basement so we covered it with used 2 by boards. I'll take pictures of the inside later. The gravel acts as a heat sink, drawing in the heat from the room and then releasing the stored heat in the dark of the night. We also put a horse tank in the floor. It will be used to hold water which will come off of the roof, into the water butt (pictures later) and when the water butt gets full, it will overflow to the horse tank via a clear tube. I'll use the water for heat storage and watering my plants. We put the wood furnace in the plant room and will burn wood to heat the house as well as the plant room. Because the plant room is on the south side of our house, there was a window in the living room which we changed to french doors. Of course the doors came from an auction. I didn't even buy them. Someone else bought them and stored them here. That person hasn't claimed them for 10 years, so I used them. Sorry Charlie! When we get the inside of the plant room finished I'll post some pictures of the inside.


 This drawing was "done" by my friend Brenda. This is our first step to creating a curved stairway.
 From Brenda's drawing I made this drawing. Figuring out how many steps I needed and how to make that curve was a task. The second floor as you will see is open around the staircase as well as there is a pie shaped piece missing. You will see those pictures later.
 Now, this may not be exactly how some master stair builders would have done things, but this is the way we did it.
  You can see the walls in the bin were studded out and then we built the outside portion of the steps.
 The outside row of steps came next. I can tell you there was much discussion here. Nothing was straight with the center of the bin, nothing was straight towards the outside row. But we still put it up. Hoping for the best in the end.
 Here we are, both sides of the steps built and in place. Never mind that nothing is exactly 16 inch centers. Grr....
 The first three steps are up. These three steps only took us one FULL night of pulling our hair out.